ADB Unauthorized

Problem

When you type

$adb devices

you would like to see

List of devices attached
2284239abd982342 device

Instead you are seeing

22982342ab29834 unauthorized

Standard Procedure

That is when you connect you device for the first time, after enable developer options by touching the build number so many times and enabling the USB Debugging, the device will give you some RSA ID and ask you whether you want to allow the PC to debug the device. You have to say yes and also check the box that always allow from the device.

Fixes

You are connecting the device, you don’t get the dialog box at all. Now you don’t know what to do.
There are several solutions all over the web

  1. You can choose revoke previous authorization in the developer options so that it will ask again. unplug the device.
    $adb kill-server
    $adb start-server
    

    plug the device. now you should see the dialog box

  2. Go to your .android folder. if it is Windows 7, then it is in c:\users\user_name\.android and delete the folder. before deleting the folder unplug the device first and then plug it back again.
  3. People talk about delete the /data/adb/adb_key from the device, i never found this file.
  4. The final answer that worked for me was making sure that the correct adb usb driver is installed as per this link
    here.
    You may skip this step if Device Manager lists your phone as “Android Phone -> Android Composite ADB Interface.” If it does not, this is likely your root cause.
    Go to the Google USB Driver page and download the latest driver directly from Google. Extract the zip file to a folder you know and will remember in the future.
    Open up Device Manger in Windows with your LGE-970 connected. Whatever your LGE-970 is currently detected as, right click on it and select Properties. Then, in the Driver tab, hit “Uninstall.” If available, select “Delete the driver software for this device.” and hit “OK.” It will remove the old drivers.
    Restart your computer.
    After restarting, reconnect your LGE-970. It should be recognized as an unknown device in the Device Manager. (If it isn’t, try the previous driver deletion steps again.)Right click on the unknown LGE-970 device, choose Properties, and in the Driver tab again select “Update driver.” Browse your computer manually by putting in the path to the new Google USB Drivers you unzipped to a folder of your choice in the beginning of this step. Choose next and your drivers should install! You’ll know everything completed successfully when you see the phone listed under “Android Phone -> Android Composite ADB Interface” in Device Manager.
    This is the most finicky process, so don’t be afraid to reboot your computer a time or two and repeat these steps if they don’t work on the first try.
Posted in android

Git error

If you get an error
fatal: Could not read from remote repository
Please make sure that you have the correct access rights and the repository exists.

But you can ssh to the repository through the ssh client, but your GitBash is not letting you to push the commit to the remote server.

Issue the command

$ssh -p port_number username@servername

if you get the bad file number, remote server cannot be found, then you need to set the http_proxy variable.

The important thing it should be config file in the .ssh folder of the git home directory as follows

~/.ssh/config

open git bash. issue

cd ~

this will take you the home directory. the preferred home directory in the windows7 is

c:\users\username\Documents

if it is not that, then set the environment variable $HOME as the above.
Now go into .ssh folder as follows

cd .ssh

inside that folder make sure you create a file name config and the first line in that file should look like this

ProxyCommand /bin/connect -H proxy_server:port %h %p

substitute the correct proxy server name and the correct port number. Save that file and then restart the git bash.

That means there is this environment variable GIT_SSH is set to plink.exe, just delete that variable and restart the gitbash all your problems will be solved

Posted in git

Android SearchView in ActionBar

The manifest file that will call jc_search_activity.java


<activity
android:name="com.jc.suadmin.first_page"
android:label="@string/app_name"
android:theme="@style/AppTheme" >
<intent-filter>
<action android:name="android.intent.action.MAIN" />
<category android:name="android.intent.category.LAUNCHER" />
</intent-filter>
<meta-data android:name="android.app.default_searchable" android:value=".jc_search_activity" />
</activity>
<activity
android:name=".jc_search_activity"
android:label="@string/app_name">

<intent-filter>
<action android:name="android.intent.action.SEARCH" />
</intent-filter>
<meta-data android:name="android.app.searchable" android:resource="@xml/searchable"/>
</activity>
Posted in Uncategorized

Git Remove deleted files en masse

When you work with a project sometimes you have to delete a lot of files that you don’t need anymore.
If you issue a git status command

$git status

Untitled
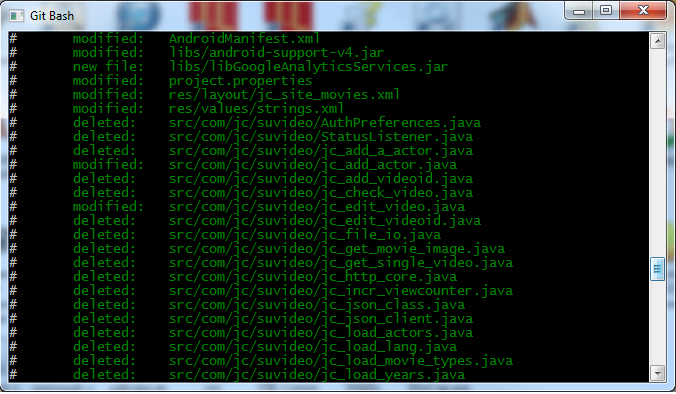
it will show the missing files in the red. that means the files are missing from the folder, but they are still in the index.
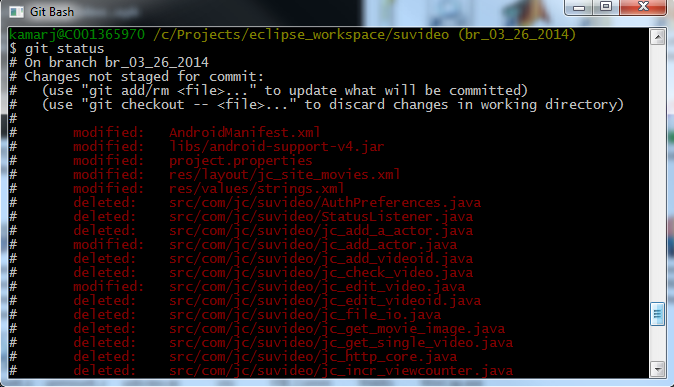
The normal process is delete them manually using a gui file manager. Then

$git rm particular_file
$git commit -a -m "commit"

Now if you check the status, then the deleted file will show up in green as deleted.
Say you deleted close to 10 to 20 files, that means i have to manually remove each of them from the git index.
The easy way is to issue

$git add -u

this will update all the missing files and mark them as deleted.

after_update
now the commit will make sure that they are removed from the index

Posted in Uncategorized

Android Google Authorization

How to Enable Oauth2 Authorization for your application in Android

Things you need

  1. First create an api project https://console.developers.google.com/project
  2. Enable the API that you want to use in that project, such as AdSense Management API
  3. Create a client id in that api project. The client id will be for installed application, Android and then you have to provide the SHA1 finger print, for debug (get it from eclipse->Windows->Preference->Android->Build) and for the release build you have to get it from your personal keystore that you use to sign your applications.
  4. Make sure that you fill out the consent screen with the correct info.  Defining the consent screen is very important. Once you define the consent screen, you can see all the applications that you gave permission to use your information can be found at https://security.google.com/settings/security/permissions. If you don’t define the consent screen, then the first time you create a client ID, using the SHA1 fingerprint from either the debug store or your personal keystore, you will get some consent screen. Even after you give permission that app name won’t appear in the link provided above. So somehow if you manage to revoke the permission that you gave to that app, then your app won’t go through the consent process again and instead you get GoogleAuthException Unknown, which will be very difficult to get out of.


Posted in Uncategorized

suvideo

SuVideo.
This is the sample help page for the SuVideo app

See the Movies at this link

Suvideo Movies

Posted in Uncategorized

Sumote

Help for Sumote

This gives small help if need to use the Roku Remote an android app designed by Jayachandran Kamaraj

This app controls a Roku streaming video player over WiFi using Roku’s External Control Protocol. It is one of  the best (possibly the only working) free one on the market (currently ranked third and the first one being the official Roku App)

To get the app through the browser, here it is. https://play.google.com/store/apps/details?id=com.jc.jc_roku
Features:

  • Find and connect to your player in less than 10 seconds without having to manually enter its address – even works with players connected over wifi!
  • Roku ECP – way more reliable than the old Telnet protocol some other remote apps use
  • Full 12-button control including Back and Instant Replay
  • List and launch channels directly from your phone
  • Automatically jump to search screens using your phone’s search button*
  • Enter text on your phone and send it to the player – never use the on-screen letter picker again!

*Most channels support this on most screens. Hulu is a notable exception

qrcode


How to Use It:

You always open the remote by default. There are two ways to navigate. One is the top section that can take you to the channels or the launcher that can take you to the launch screen. The other way is to use the menu by pressing the menu button.

Settings

Screenshot_2013-12-03-14-01-45


It has two options.

  1. Pure Roku
  2. Full Keyboard

If it is pure Roku, then it will identify only the Roku devices. Since it is using SSDP protocol to discover the devices in the network, and the roku uses 8060 port number, if the Pure Roku option is selected only the results for that port will be displayed. If it is not selected all the answers for the query will be shown.
Full Keyboard. If the option is selected then you can get the full keyboard functionality when you want to input text in the search screen in the roku. If not you get the keyboard in the remote screen (and for example it won’t support keys like backspace).

Posted in Uncategorized

Install Cyanogenmod in Samsung Galaxy s3

Steps to install cyanogenmod

  1. Unlock the bootloader(using EZ-UnLock)
  2. Recovery firmware (ClockworkMod or TWRP) CWM6023TouchVZW.tar.md5
  3. cyanogenmod firmware
  4. gapps update software

Unlocking the bootloader

I don’t know whether this step is needed or not. Maybe next till i’ll try to unlock the stock bootloader. You need this file VRALEC.bootchain.tar.md5. If you don’t unlock the bootloader, you cannot install anything like the custom recovery firmware. If you try to install any firmware you will get the complaints like E:signature verification failed.

Now we will flash the custom bootchain file so make sure that “Auto Reboot” and “F Reset Time” are selected on Odin. Then click the PDA button and select the VRALEC.bootchain.tar.md5″ file and click on “Start” button on Odin.

Once it boots, you need to unlock the bootloader. This can be done using the EZ-Unlock app. For that you have to be root. Please follow the rooting procedure as describe in another post. Now install the EZ-Unlock app and unlock the bootloader.

Install the Recovery

Now you need to install the ClockworkMod touch recovery. To install it, boot the phone into Download mode again (as you did in Step #2 above).
Relaunch the Odin, connect the phone using the cable and uncheck the “Auto Reboot” option on Odin.
Click on the PDA button, select the “CWM6023TouchVZW.tar.md5“ file and hit the Start button.
CWM Recovery will be flashed to your phone followed by “PASS!!”. This time your phone will not reboot automatically. Close the Odin window and disconnect the USB cable.

Now pull out the back cover of the phone and remove the battery. Place the battery to its place after about 30 seconds.
Then boot the phone  into ClockworkMod recovery mode. To do this, hold the Volume Up + Home + Power buttons simultaneously. Keep the 3 keys pressed till your phone vibrates and when it does, release the Power button but keep the other 2 keys pressed till you see a gray/black background with blue text the Clockworkmod Recovery written on the top of the screen.

Posted in Uncategorized

Root my Galaxy S3

Root your Samsung Galaxy s3

I rooted my S3 using the CasualApp java application.
Here is the java file d2vzw-CASUAL-R795b-BeansTown106
When you run this application, if it complains “Casual.CasualApp: could not find main class”, that means you have an older version of java.
Just follow this link Check my Java.
Update your java. then start the application.
Connect your phone using the USB cable.
Click the do it Button. It will root your phone and then reboot

Posted in Uncategorized

Samsung Galaxy S3 to Stock ROM/UnRoot and Lock

To go into boot mode

To go to the recovery screen Hold Volume Up, Home and then Power Key

To go to the odin screen Hold Volume Down, Home and then Power Key


To reset the phone to stock rom.

You need these following files

Odin

KIES_HOME_I535VRBMB1_861013_REV09_user_low_ship.tar.md5

Verizon-SCH-I535-StockRecovery.tar

2. Flash Stock Recovery

I downloaded the stock rom image that you find above. that has all the files, like recovery.img and system.img etc.

There is another file that has just recovery.img. I just used the KIES_HOME_I535VRBMB1_861013_REV09_user_low_ship.tar.md5

  1. Run ODIN. Do not touch any of the options. Only Auto Reboot should be checked.
  2. Plug in your phone. The first COM rectangle should be yellow and ODIN should recognize the phone. If this is not the case and it’s not recognizing it then you need to get drivers for your phone.
  3. Click “PDA” and select the stock recovery file you just downloaded.
  4. Click Start.
  5. When complete the top left will be green.
  6. Now you have a stock recovery!!
  7. Unplug your phone

3. Device Wipe

  1. Go into your custom recovery by holding down Home, Volume up and Power buttons together.
  2. When you see the samsung logo, let go and you’ll see it go into custom recovery.
  3. Scroll to device wipe using the volume keys.
  4. Press the home key to select the option, and then select yes. Once the device is wiped it will let you know.

IMPORTANT: If when rebooting, it hung for me 4GLTE animation forever. Couple of device wipes and reboots didn’t help me . I used the stockrecovery file from above. First untarred the file and got the recovery.img. Used the odin to as in Step 2. Repeated Step 3. I’m done

Posted in android